
If the history of -418 interests you click here
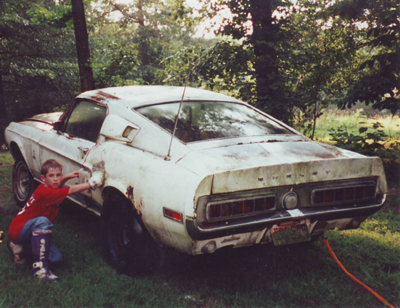
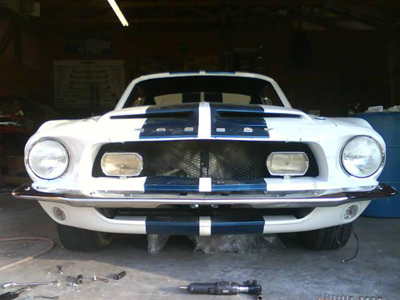
1968 Shelby GT500 picture taken about 1998
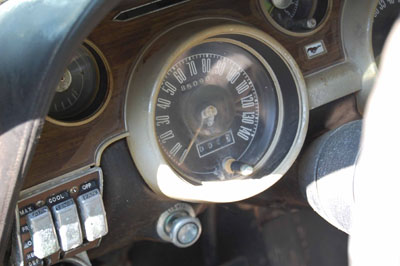
85K Original Miles
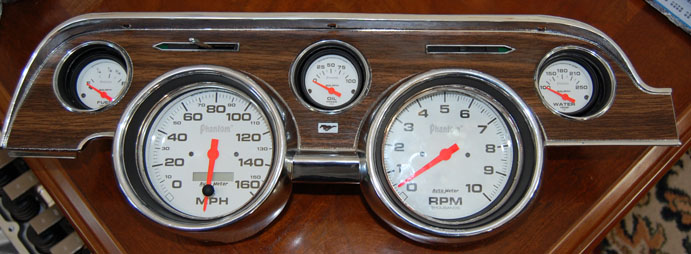
Click HERE to see more of the new cluster
Gas tank is fairy clean.
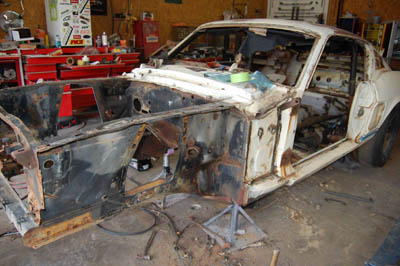
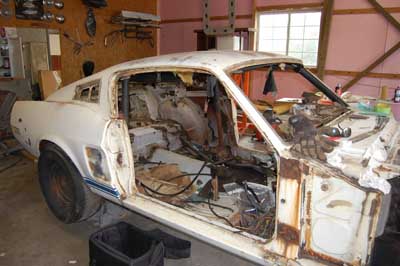
Believe me, it's a lot different when that's YOUR car stripped and on the jack stands. I never really thought a lot about it when it was someone else's car in the magazines.
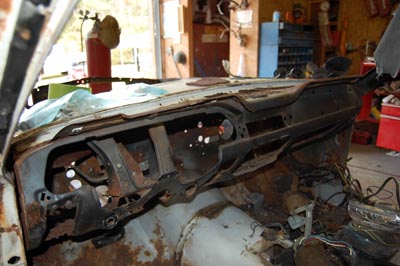
The dash looks a lot different than it did in the above picture.
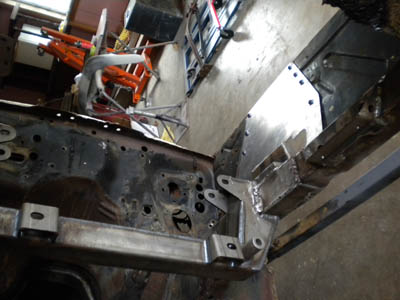
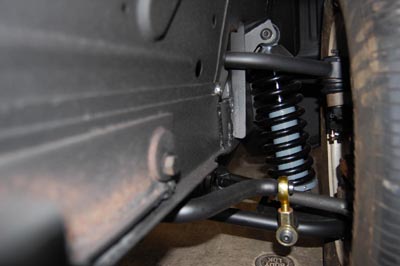
The stock shock towers were a mess and needed to be replaced. We are going a different route and will replace the towers with a TCI Coilover suspension.
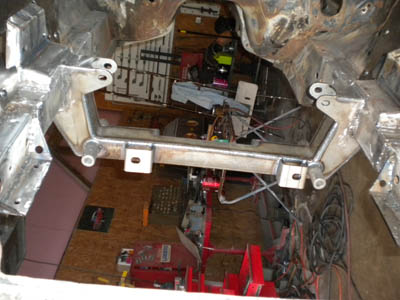
This is the TCI Crossmember after installation.
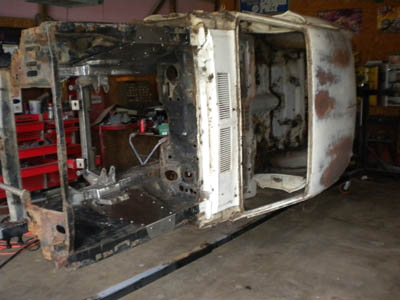
GT500 on the Rotisserie.
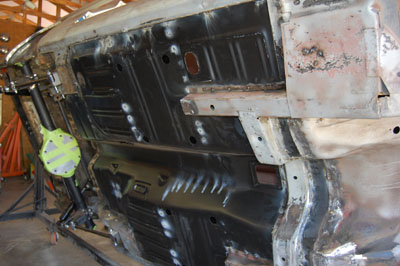
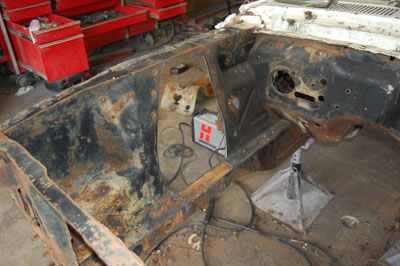
New Floorpan installed bottom view
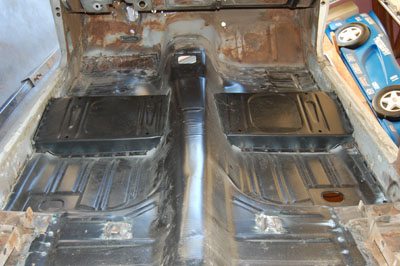
New Floorpan top view
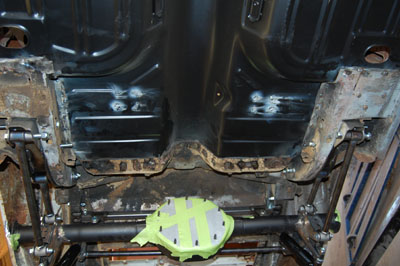
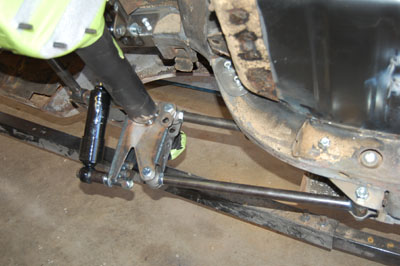
I used a Heidt's 4 link on the rear
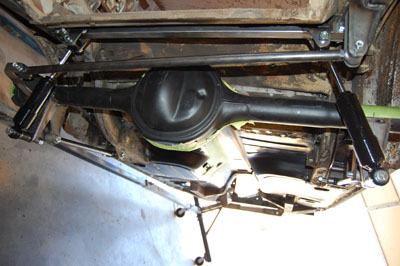
Here's a picture from the rear
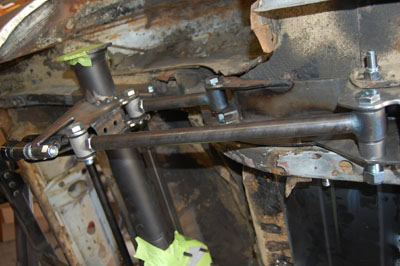
Here's a little more detail on the arms
I will post more pictures as the project progresses over the next few months.
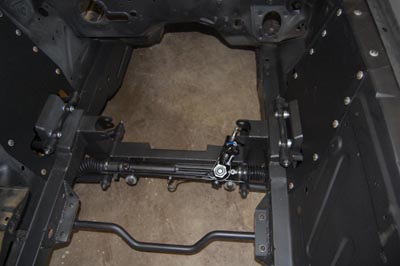
This is the engine compartment pretty much how it will look.That is a TCI Coil Over Suspension with a power rack and pinion.
Here is a picture from outside of the engine compartment
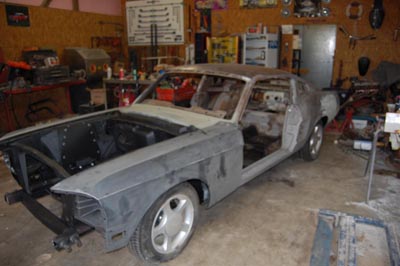
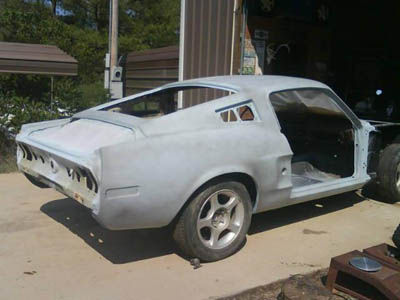
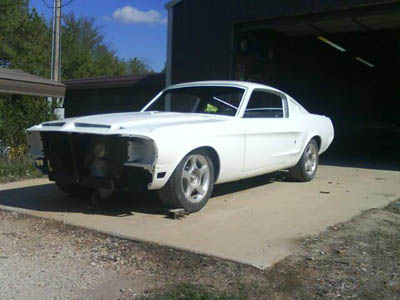
Finally, the car is on four wheels. Fenders are in position. Note the Mustang GT Wheels from a 2000 model. I was shocked at how close the offset on the wheels is to being workable.

Note the addition of a hole underneath the lower side scoop. The rear disc brakes will now have real air cooling via the lower scoop. The lower scoop on 1968's were merely there for looks.
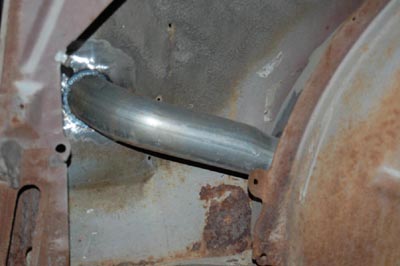
This is the inside of the car behind the rear lower scoop. That tube connects to the inner wheel tub.
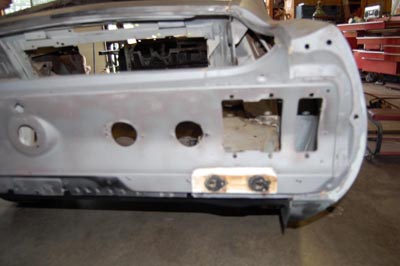
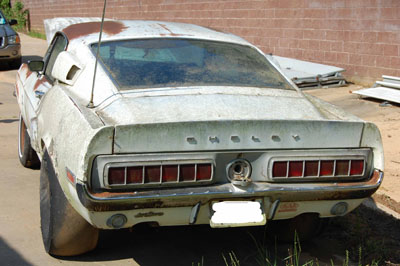
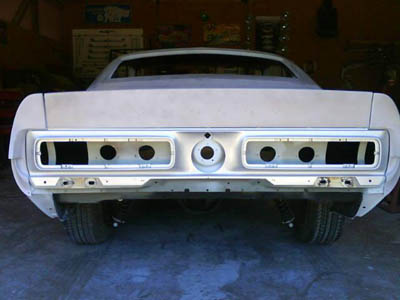
I always thought that the rear of the Shelbys were all cut up. I was suprised that the tail lights were installed with very little cutting. The rear tail light assembly actually bolts over the rear of the car.

Some New Pics of the build.
Doors and front fiberglass on for a trial fit.
 .
.
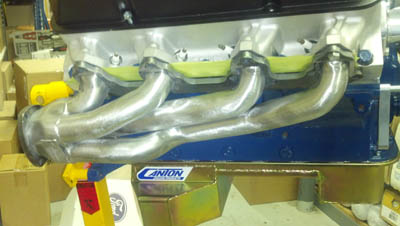
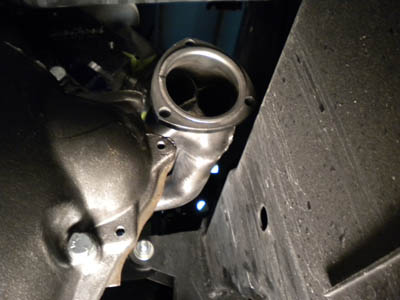
Sanderson shorty headers point straight back and stay very high. We will have to see how easy they will be to hook up to exhaust pipe.
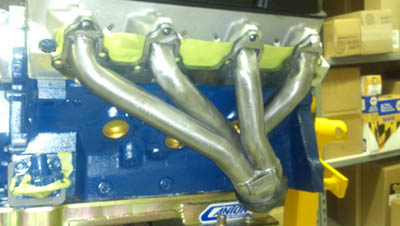
As you can see the drivers side header points downward and tucks as close as possible. Hopefully the header will clear the steering shaft during the trial fit in a few days.
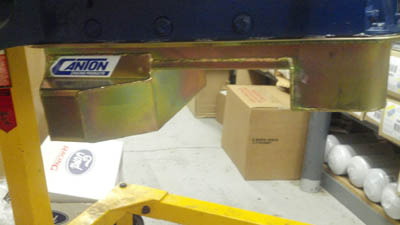
Canton Oil Pan. We will check crossmember and rack and pinion clearance in the next couple of weeks.
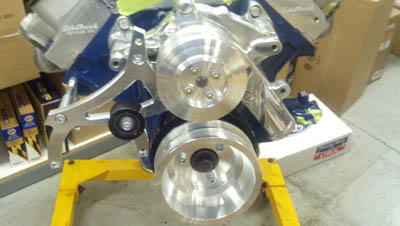
March serpentine system with dual belts.
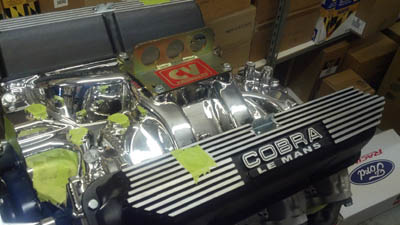
Ford Racing Valve Covers

Finally outside the paint booth.
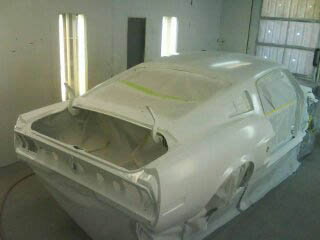
Paint Booth Picture.
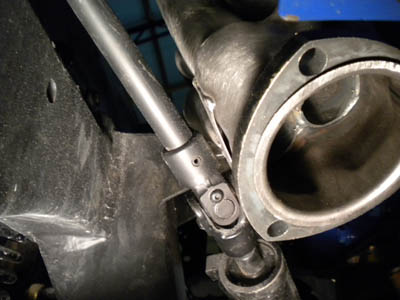
Left Header clearance just misses the rack and pinion shaft. Maybe 3/16" clearance.
Header on the right side easily clears the starter. It may be a tight fit to get the pipe by the firewall.
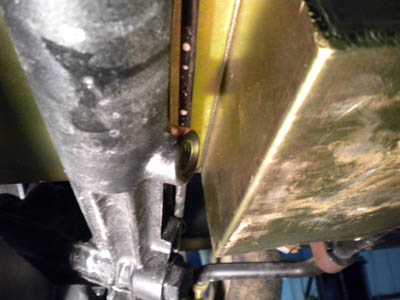
The threaded boss on the rack is too close and pointed at the oil pan. This was an extremely tight fit but I managed to rebend the line to fit. Hopefully it will not leak when we get ready to drive it for the first time.
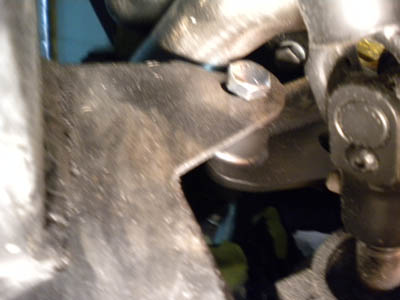
Motor mount had to be notched on the drivers side in order to clear the headers. A few minutes with a good air die grinder made quick work of it.
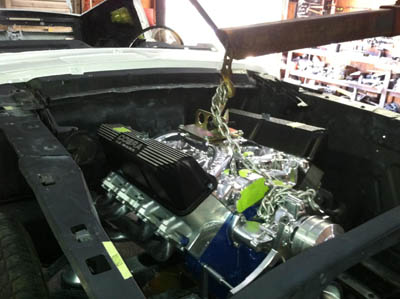
Motor being fitted into frame for first time.
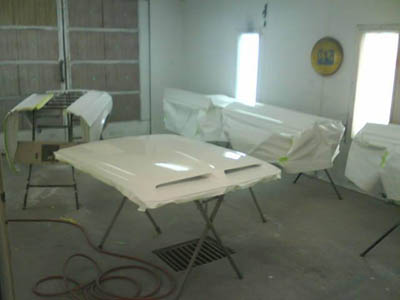
Hood is in paint booth for base coat.
First look with fenders and doors on.
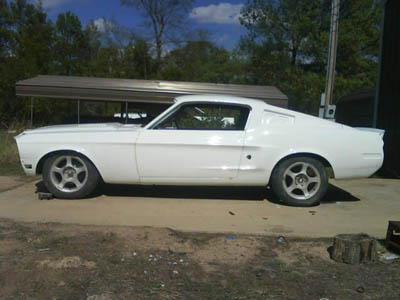
Front sits low. Springs are adjustable to some degree and are avaiable in different rates. I need different tires and wheels to get a true perspective of the stance.
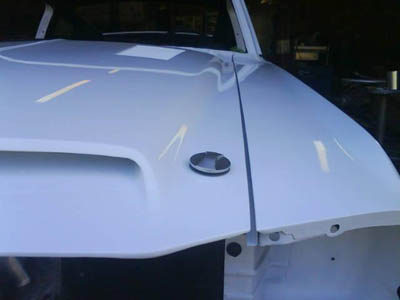
My hood never had the unique Shelby hood pins until now!

Maybe some pics with the stripes next week!
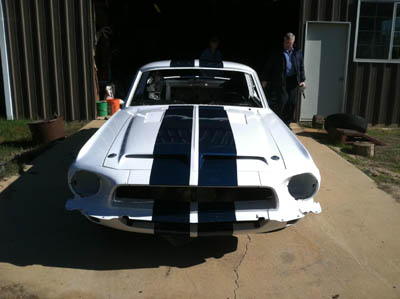
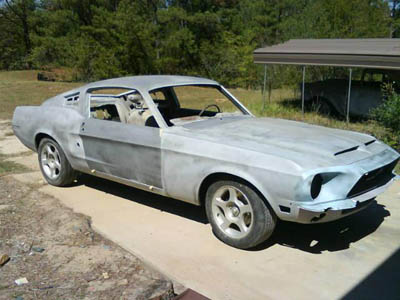
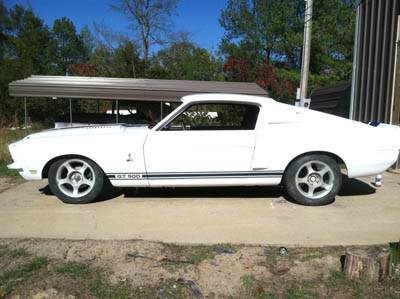
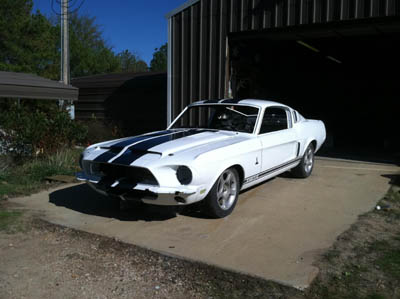
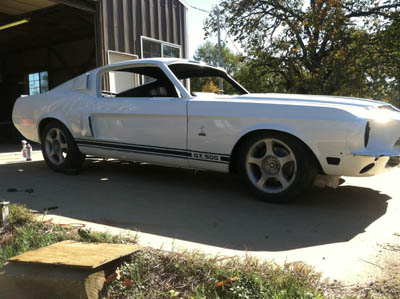
Stripes are finally on. The stripes were never factory installed on 1968 models but then this car is far from a concours vehicle.
The scoops are now installed.
.jpg)
The finished product: 1968 Shelby GT500
.jpg)
.jpg)
.jpg)
.jpg)